
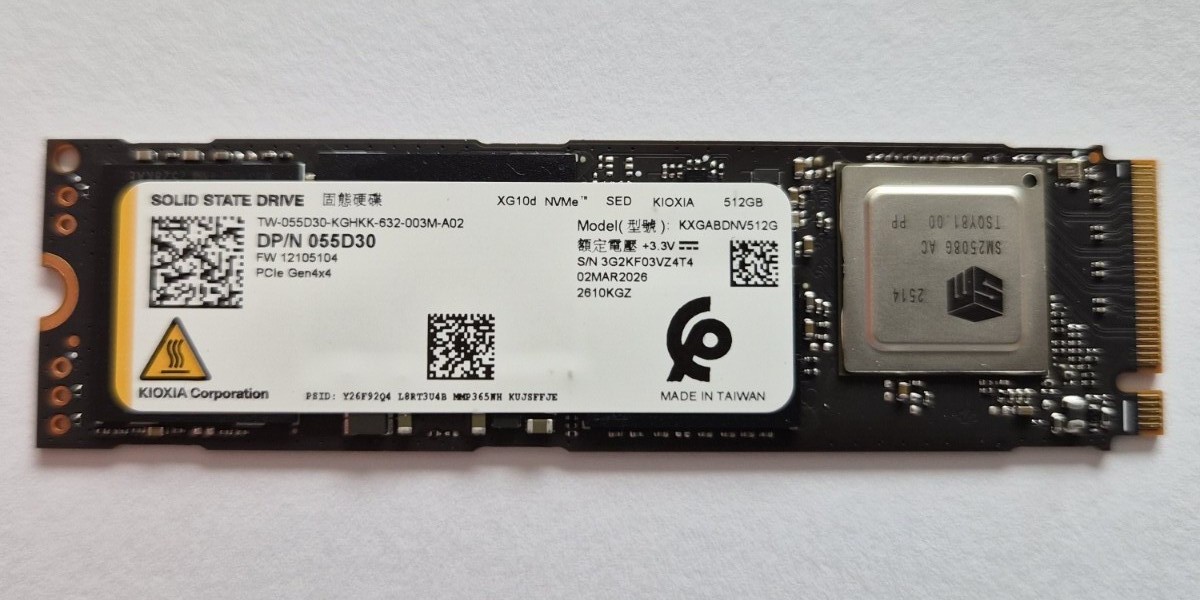
That retired laptop SSD may still have plenty of life left in it. Instead of letting it gather dust in a drawer, you can turn it into portable storage with a compatible enclosure—a practical upgrade that can be considerably cheaper than buying a brand-new external drive. The basic conversion is straightforward: install the drive in an external shell, connect it over USB, and use it like any other storage device.
The important first step is identifying what kind of SSD you have. Older or larger drives commonly use the 2.5-inch SATA format, while many newer laptops contain slim M.2 drives. M.2 is a physical shape, not a single connection standard, so an M.2 SSD may use either SATA or NVMe. The enclosure must match both the drive’s form factor and its interface; an M.2 SATA enclosure will not necessarily work with an M.2 NVMe drive. Kingston’s technical guidance explains that SATA and PCIe/NVMe drives use different protocols even when they share the M.2 shape.
Before opening the laptop, copy anything important elsewhere. A drive removed from an old computer may still contain documents, photos, saved games, browser data, or an operating-system installation. Kingston recommends backing up or cloning the contents before converting the drive, then formatting it for its new role once the data is safe. Formatting is destructive, so it should be treated as the final step—not part of the initial troubleshooting process.
It is also worth checking the SSD’s health before trusting it with new files. Windows users can inspect the drive through Disk Management and other diagnostic tools, while macOS includes Disk Utility for examining connected storage. A drive that is already reporting errors or behaving unreliably is a poor candidate for important backups, even if the enclosure itself works perfectly. The enclosure protects the exposed electronics and gives the SSD a convenient USB connection, but it cannot repair worn-out flash memory.
Installation usually involves opening the case, sliding a 2.5-inch SATA drive into its connector or inserting an M.2 module at an angle, then securing it with the supplied screw or clip. Many current enclosures use USB-C, although their actual speed depends on the drive, enclosure controller, cable, and computer port. USB 3.x and Thunderbolt-compatible models can make a fast NVMe SSD feel responsive, but a slower connection will become the bottleneck. Crucial’s reuse guide likewise describes SATA-to-USB adapters as a simple way to turn an internal drive into external storage.
Once prepared, the repurposed SSD can handle game libraries, media transfers, project files, system installers, or a secondary backup. It should not be the only copy of anything irreplaceable, but reusing it keeps working hardware out of the waste stream and gives an old laptop component a second job. For the best result, identify the interface before buying the enclosure, preserve the old data before wiping it, and test the finished drive before trusting it with a full archive.
Image Credits
In-Article Image Credits
NVMe SSD harddrive hard drive via Wikimedia Commons with usage type - Creative Commons License. By User5515 - Own work, CC0, https://commons.wikimedia.org/w/index.php?curid=201575487Featured Image Credit
NVMe SSD harddrive hard drive via Wikimedia Commons with usage type - Creative Commons License. By User5515 - Own work, CC0, https://commons.wikimedia.org/w/index.php?curid=201575487


